Showing posts with label DIY. Show all posts

Wednesday, May 11, 2016

Incursion Plastics, Part 1

Catching up on some painting...

(click on the pix to enlarge)
MI-13 (Rear Left to Right): Nigel, Commando, Ack Pack x2 (Flamer), Grenadier
(Foreground Center): Gut Gunner

SWD (Left to Right): Bomber Zombies x2, Hugo Von X, Drohne and
Gretel Von X (Classic pose)

Fallschirmjager Droptroopers (Rear Left to Right): Droptrooper, Flammenwerfer, Panzerfaustwerfer, Hilde Becker and Feldwebel(Foreground Left to Right): Droptrooper and MG42 Trooper
Luck 7th (Left to Right): Grunt APE, Rosie the Riveter, HMG APE, Grunt APE and Blazer 

Sunday, January 3, 2016

2' x 2' Mini Terrain Table

HAPPY NEW YEAR!

Because gamers like a big area for viewing and admiring, most of us have the typical 4' x 6' playing areas. Realistically, most of my games end up in tight quarters. Especially my skirmish games in 28mm. Solution: make a mini terrain table for those close quarters.


Start with a standard 2' x 2' acoustic ceiling tile
available at any hardware store.
Paint the edges with flat black for a better border

Inexpensive but very effective for most of my painting needs

Apply with a metal spatula a good base layer of a slurry mix
(sand, white glue, cheap gray acrylic craft paint and water).
Let dry and cure overnight then apply successive coats of dark brown wash

Again let dry and cure overnight

After the board was dry-brushed to my liking I then applied
white glue to random areas and sprinkled copious amounts of
static grass from Gale Force Nine

Let dry and cure overnight then take a tooth brush to
tease out (stand up) and remove excess static grass and Voila!


My whole intent was as mentioned above but after it was completed I knew that I could pose some of my minis on it for some cool diorama shots.

Steppe this way!
My Mongols from The Assault Group
and Old Glory lines in 28mm

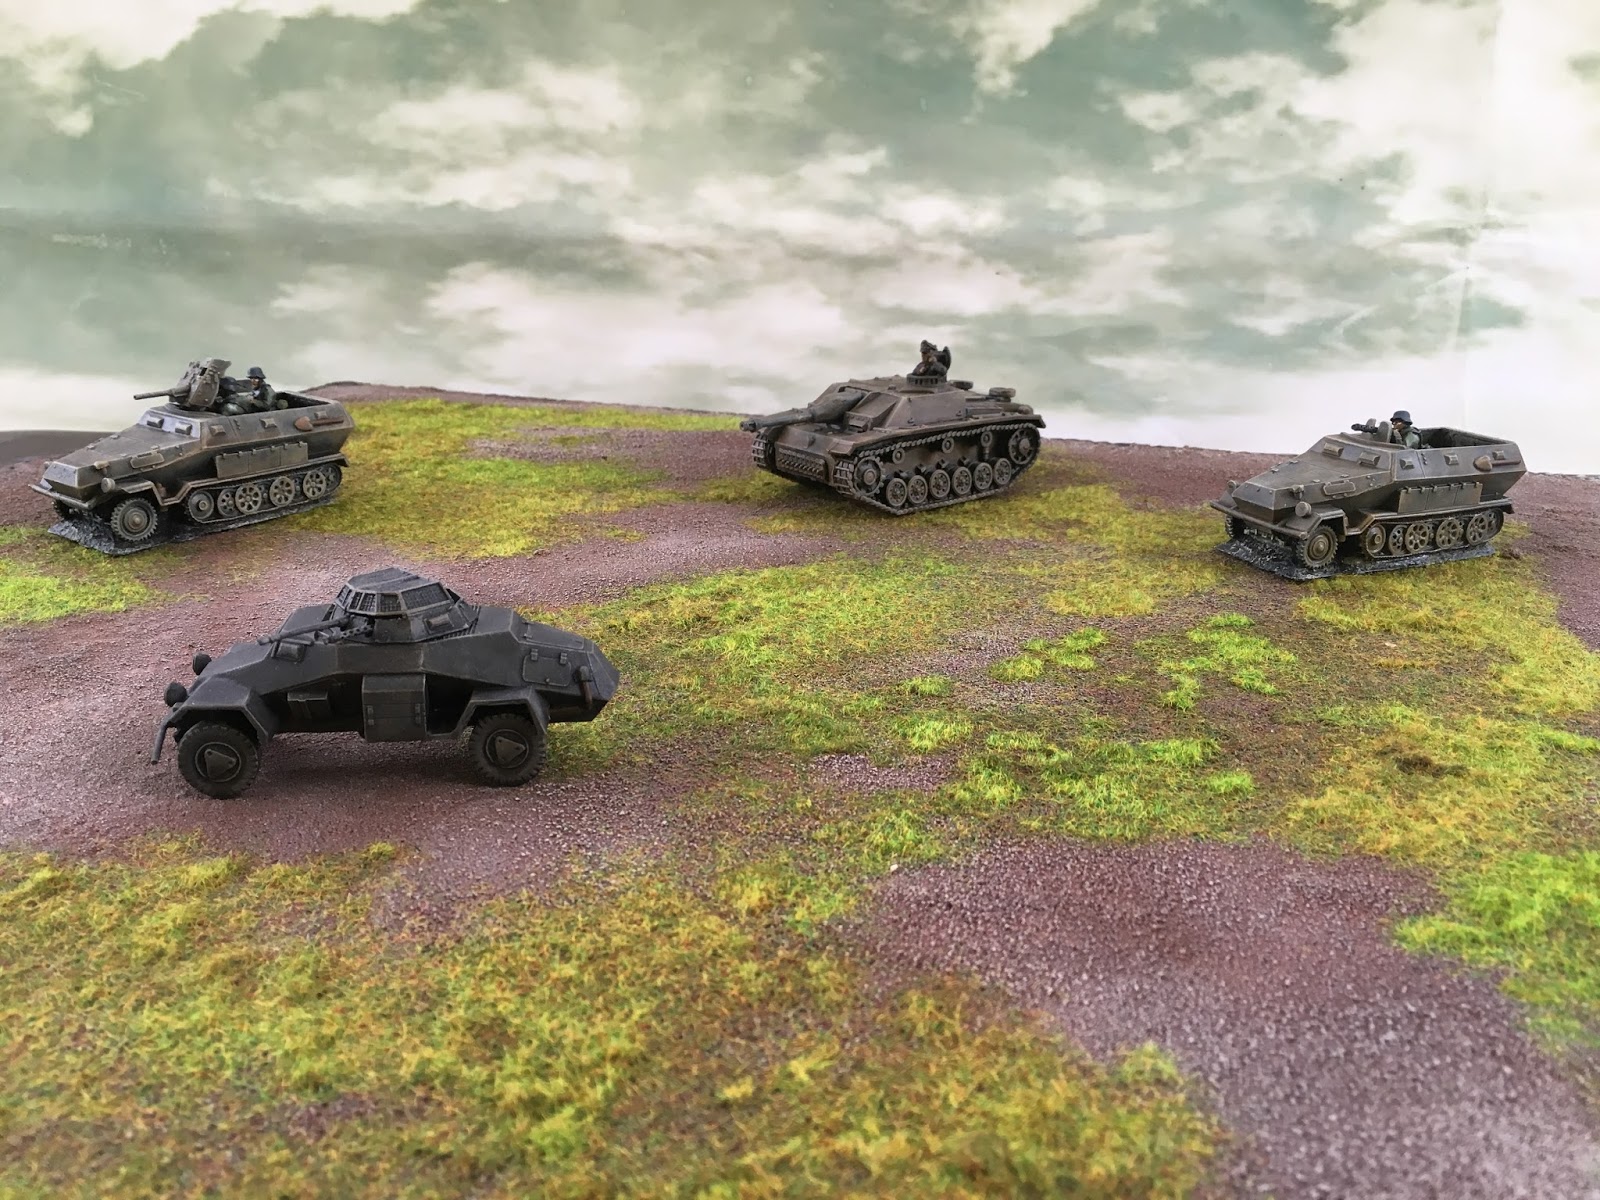
Assortment of German Panzers: Stug III, Sd.Kfz 222 armored
car and Sd.Kfz 251 half-tracks from Bolt Action in 28mm

Same Panzers supplemented with 25mm BMW motorcycle 
troopen from Battle Honors (incidentally, putting them in the
foreground mitigates the scale disparity)

My 28mm Soviet Tankovy: KV1 and T34/76 from Battlemart
and armored cars: BA6 and BA64 from Bolt Action 

Showcasing some of my 6mm Modern micro armor from
GHQ: M1 Abrams, British Challenger and German Leopard 2
alongside Timecast buildings and haystacks

Ditto

Composed shot for my Instagram

Tuesday, June 9, 2015

My New Rolling Gaming Table

At last! I finally completed my game table complete with casters for some rolling action. Actually, this table is a modification of my 4'x6' gaming table top I inherited from a friend. I usually just set it on a folding table. I've since enlarged my playing surface to a 5'x7' by buying and cutting some standard 4'x8' MDF panels.

Without casters, my table became problematic in my limited gaming space (read: small game room). Solution: wheels! 


Plans and sketches drawn, noted and ready for assembly.

Here's a sample of my plan and elevation combining
CAD drawings with sketched notes and dimensions.

Here's a test fit of the parts and pieces before any drilling, fastening, etc. 

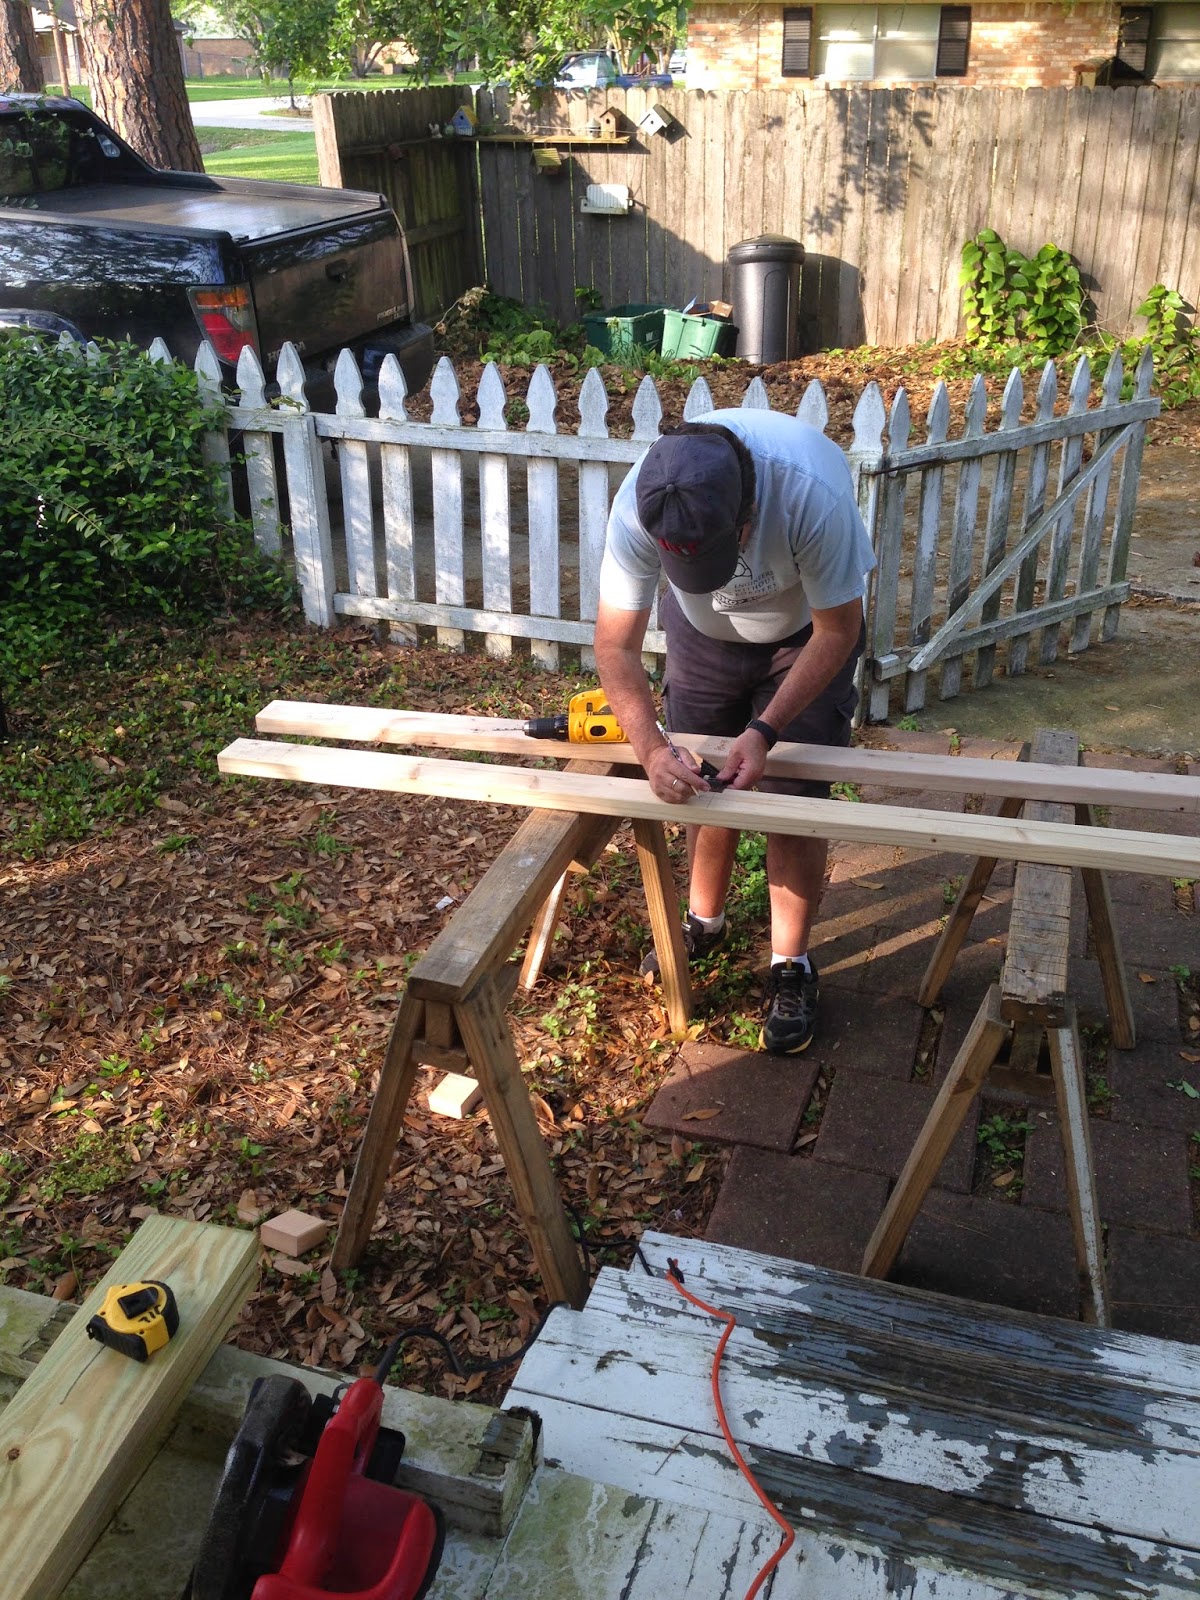
My buddy Mikey measuring twice and cutting once.


The all important casters attach to the 4x4 table legs.
Lesson learned: ALL legs should have swivels for easy maneuvering -
not just the two. Bottom line: buy two sets!  


No nails were used. Bolted and screwed for easy dis-assembly if needs be.


Bottom storage shelf also acts as a shear panel
(for you structural engineer types) and added support stability.


Notice the sag? "Arrrrrghh!" I cried in frustration.
The sag is a product of two MDF boards butted together to create a 5'x7' playing area.

Problem: sag occurs at the table top seam when two pieces were used
to make up a 5'x7' playing surface. This is a custom and nonstandard size.
Solution: 
doing this solo without another set of hands forced 
me to be creative and used my car jack to help lift the sag. Adding a 2x4 fascia board attached to the legs on the two long sides gave the sag the support needed.

Tuesday, March 3, 2015

Refurbishing Old Models Part 3

I finally found the proper materials to simulate metal grate flooring that's perfect for skirmishing my 28mm sci-fi miniatures. Go down to your local hardware store and look for 2'x4' clear prismatic plastic lenses. I bought 3 panels that can be arranged to make a 4'x6' playing area. More than enough for skirmishing.      

(click on the pix to enlarge)
They come in different patterns but I found this particular grid to work well. 
The perfect spray paint to give the right amount of texture.
And Voila!
Anyone recognize those rusty robots?
See Refurbishing Old Models Part 2


UTA

UTA


Assorted Red Blok Mechas

Showdown with an ONI Merc Zombie and a UTA Medic 

Friday, February 20, 2015

More Proxying Fun: Ars Victor with MechWarrior Minis, Part 2


Using lots of found objects (e.g. plastic caps) to simulate Sci-fi Cityscapes

Hex to hex conversion
Left: Original game map
Right: Hexon and terrain representation

Before: original game map and counters

After: Hexon tile map with proxied minis


Before: original game board and counters

After: Heavy Unit represented by re-purposed MechWarrior minis


What if? Posing some microarmor with Martian Tripods for fun


What if? F4 Phantom on a flyby recon

LinkWithin

Related Posts Plugin for WordPress, Blogger...