Showing posts with label Modern. Show all posts

Tuesday, October 10, 2017

LnL World at War Series: Blood and Bridges - Hold The Line Scenario Replay

Here's a replay of a beloved game and scenario. This time I used my Hexon tiles. In the earlier game Hotz Mats was used. See World at War: Blood and Bridges, Scenario 5: Hold the Line

(click on the pix to enlarge)
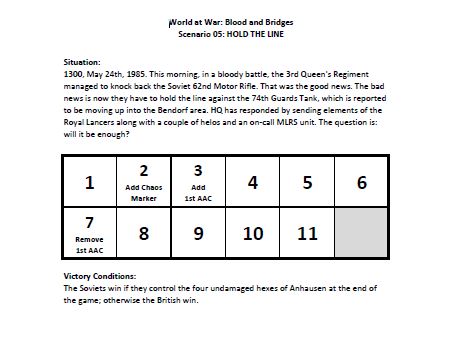
I created a word document with all the scenario information
(scanned units and counters) as the reference guide for my
group that shows all the units (enlarged) used on the table to

mitigate clutter on my table. Being able to read the counter
information because the print is too tiny on those counters makes
game play easier for these tired eyes. I believe at one point,
LnL (under Mark L. Walker) released unit cards but I don't
think they're available under the new management.  


Scenario page shows Victory Conditions with 
Turn Marker when special units arrive, etc. 
helps game flow and keeps accuracy of events 

WIP Hexon Game Board: Using masking
tape as placeholder for roads 

WIP Hexon Game Board: Using blue colored sand to
represent rivers on my custom-made hexes

WIP Hexon Game Board: Using carpet tile samples (4" squares) easily
acquired from local DIY stores (e.g. Lowes or Home Depot) and cut
to hex shape. Different colors denote burnt crops or planted fields 

WIP Hexon Game Board: Using PicoArmor Euro Village Buildings and my
custom-made rubble and building ruins to represent towns and villages 

WIP Hexon Game Board: A bigger picture

WIP Hexon Game Board: Applied colored sand mix (gray, black
and brown - again easily acquired from any craft shop:
e.g. Michael's or Hobby Lobby) for roads

WIP Hexon  Game Board: Finally coming together, most of these
components were used in the earlier posting

Close up view of some of the riverside towns
with my scratch built trellis bridges 


NATO Air Power
Top row: British Lynx
Middle Row: FRG BO-105
Tornados (flanking) and F4 Phantom 

Lynxs on the prowl
Trees are from 'We Honest' (a Chinese website
featuring cost-effective trees great for gaming)

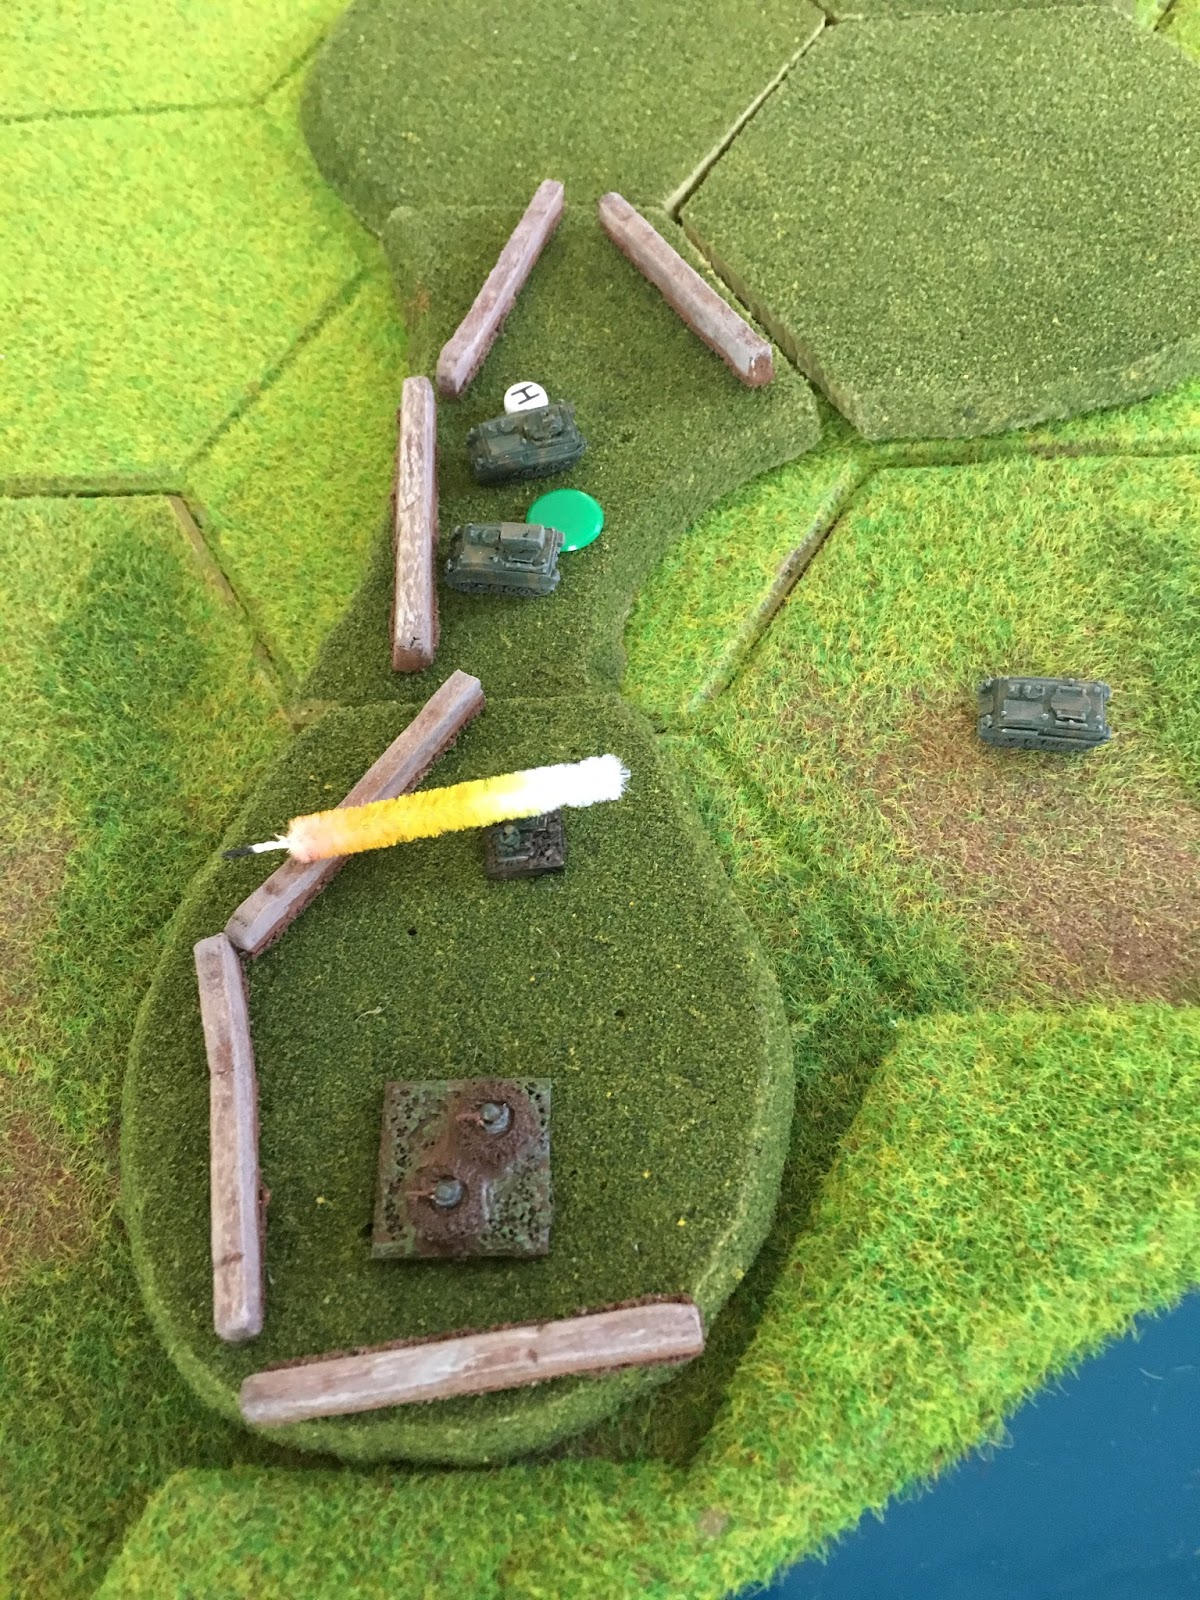
The point of a minis table is no clutter with TMI. Instead I use
lettered beads (from Michael's or Hobby Lobby) in lieu of markers
to denote unit status (D = Disrupted, R = Reduced)

2xT80 Platoons + an HQ Unit (H = HQ)

Here are some dismounted NATO infantry supported by FVs and a Milan
Modified pipe cleaners make great missile markers

GHQ conifer trees on pennies

Red disks indicate 'Ops Complete' mode for units
that completed any action (move or combat)

Another artillery barrage landing on
a Soviet advance in the woods

Using the trees as cover the Soviets advance but is
pounded on by NATO artillery strikes

A NATO elevated over watch position 

Smoking and burning hulks are wrecks
and this Soviet HQ company was decimated


Artillery barrage represented by Paper Terrain explosion pack

Perilous river crossing for the Soviet BMPs Infantry Carriers
Bombardment aftermath: Destroyed BMP and Disrupted BMP on the bridge
Adjacent hex: Destroyed

NATO fortified position with dug-in infantry
and Dragon support weapon


Another T80 platoon casualty

2xT80 platoons out of Command Control
and effectively out of the fight

Tuesday, February 16, 2016

New and Old Toys, Part 5

Taking advantage of my already set up table...

(click on the pix to enlarge)
Meanwhile, Mars attacks and Earth forces defends...

Sunday, January 3, 2016

2' x 2' Mini Terrain Table

HAPPY NEW YEAR!

Because gamers like a big area for viewing and admiring, most of us have the typical 4' x 6' playing areas. Realistically, most of my games end up in tight quarters. Especially my skirmish games in 28mm. Solution: make a mini terrain table for those close quarters.


Start with a standard 2' x 2' acoustic ceiling tile
available at any hardware store.
Paint the edges with flat black for a better border

Inexpensive but very effective for most of my painting needs

Apply with a metal spatula a good base layer of a slurry mix
(sand, white glue, cheap gray acrylic craft paint and water).
Let dry and cure overnight then apply successive coats of dark brown wash

Again let dry and cure overnight

After the board was dry-brushed to my liking I then applied
white glue to random areas and sprinkled copious amounts of
static grass from Gale Force Nine

Let dry and cure overnight then take a tooth brush to
tease out (stand up) and remove excess static grass and Voila!


My whole intent was as mentioned above but after it was completed I knew that I could pose some of my minis on it for some cool diorama shots.

Steppe this way!
My Mongols from The Assault Group
and Old Glory lines in 28mm

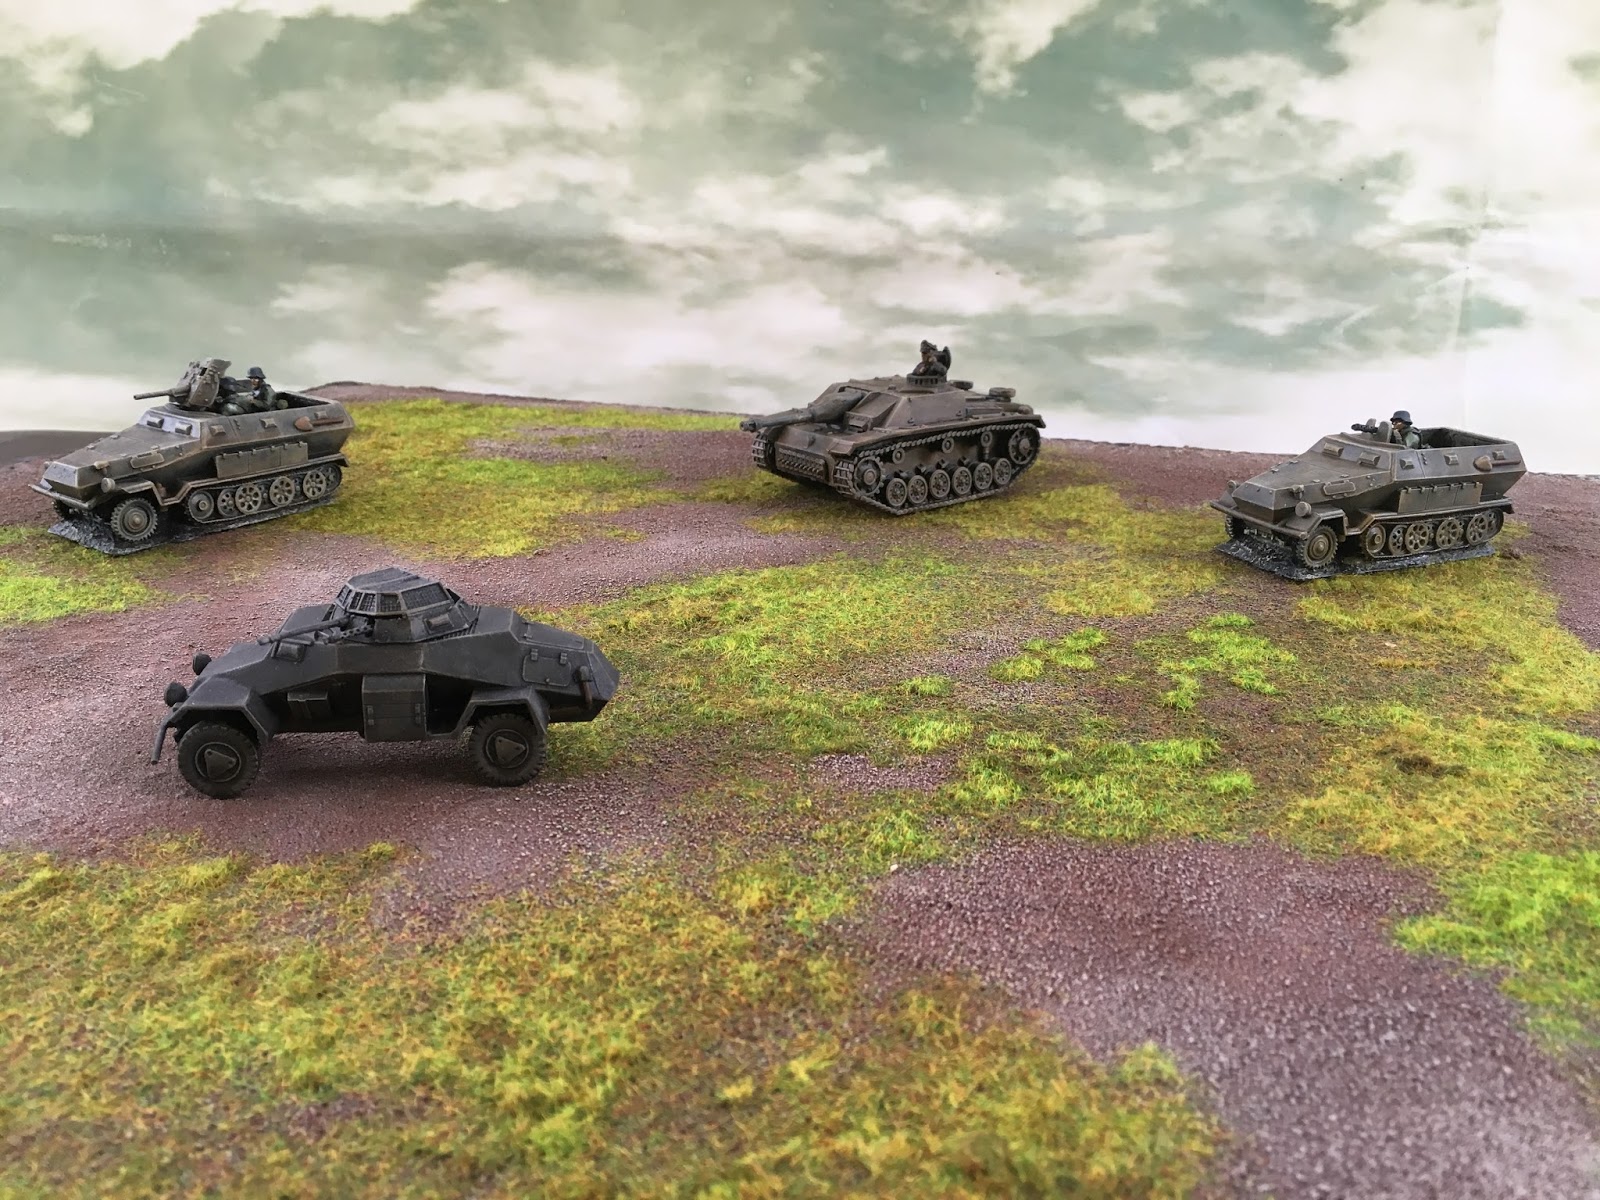
Assortment of German Panzers: Stug III, Sd.Kfz 222 armored
car and Sd.Kfz 251 half-tracks from Bolt Action in 28mm

Same Panzers supplemented with 25mm BMW motorcycle 
troopen from Battle Honors (incidentally, putting them in the
foreground mitigates the scale disparity)

My 28mm Soviet Tankovy: KV1 and T34/76 from Battlemart
and armored cars: BA6 and BA64 from Bolt Action 

Showcasing some of my 6mm Modern micro armor from
GHQ: M1 Abrams, British Challenger and German Leopard 2
alongside Timecast buildings and haystacks

Ditto

Composed shot for my Instagram

Wednesday, August 19, 2015

New and Old Toys, Part 1

Most of us have lots of toys that don't get any use for whatever the reason. In this case, my Al Qaeda and Soviet Paras in 28mm supplemented by a recent purchase from Millineumcon 2014 of some kit bashed technicals that are (alas) a different scale: 20mm.


Front Left to Right: Al Qaeda Fedayeen, Soviet Paras
Rear Left: Kit bashed Technicals

Rear Right: Starship Troopers (just in case you were wondering)

At this past Historicon, I wanted to remedy the neglect of some of my toys by being on the lookout for prepainted terrain. Eureka! (not the company but the exclamation) Miniature Building Authority (MBA) did not disappoint. Also there were plenty of homemade terrain by enterprising gamers being sold at the flea market. Here's some of my new acquisitions.

Front Center: Homemade rubble and metal junk pile
Rear L-R: Prepainted block buildings and shanties from MBA 

Front Center: Pre-painted block buildings and shanties
from MBA w/pre-painted oil drums from Pegasus Hobbies

Rear L-R: AT-43 prepainted shipping containers
plus 4 un-painted shipping containers also from MBA


Concrete barricades from AT-43 work well with
my Technicals albeit in a different scale


Freshly spray can painted MBA shipping containers that needs some weathering

LinkWithin

Related Posts Plugin for WordPress, Blogger...