(click on the pix to enlarge)

For urban settings I've used a Soviet army blanket I found at a surplus store. I like the texture and grayish brown color that looks like dirty concrete and paved surfaces. If you're like me, surplus stores are a great place to find gaming materials and surfaces to drape on your table.

Alternative and cost effective ways of representing cobble stone streets were my initial challenge. Because of my era and area of choice (Eastern Europe), asphalt paved streets would be anachronistic and inappropriate.


I borrowed an idea from another excellent blogger and terrain maker, Sbminisguy. After admiring and drooling over his urban ruins table on his post: http://sbminisguy.wordpress.com/2010/04/09/nuts-ostfront-demo-game-aar/ I contacted him directly for questions and advice. He was very helpful and gave me lots of information. I preferred his street because it didn't layout flat and static thereby looking artificial. With felt or fabric one can simulate real world dips and bumps.
So a quick trip to my local fabric store yielded the right shade of greyish felt that I would use as my roadbed. Further scrounging at my local train store resulted in the perfect stamp to use in simulating a cobble stone street. I found a 5" wide x 12" long wall section (HO scale) made by the Ultimate Scenery System. A quick removal of the top stone cap made it flat enough for stamping along with some light gray latex paint.

So a quick trip to my local fabric store yielded the right shade of greyish felt that I would use as my roadbed. Further scrounging at my local train store resulted in the perfect stamp to use in simulating a cobble stone street. I found a 5" wide x 12" long wall section (HO scale) made by the Ultimate Scenery System. A quick removal of the top stone cap made it flat enough for stamping along with some light gray latex paint.

To make things simpler I didn't bother with sidewalks. Another added detail were the ubiquitous manhole covers that seemed to be typically ignored in most tables that I've seen. At first I thought of using buttons but I didn't find anything to my liking. Truth be told I just bored searching for the right one at my local fabric store. Another option was actual O Scale manhole covers available at Model Railroading online catalogs. However, I just got impatient and needed them NOW. Sound familiar?

As a flash of inspiration, I Googled manhole cover images, printed them on card stock and glued them onto washers. I painted the edges with a reddish brown to give it a rusty hue. I love washers. I use them on everything as you can see.

Next, I needed telegraph poles and/or power lines. I didn't bother with stringing actual power lines and decided to include a few strands instead. The power lines would just get in the way during the game. Here are the completed poles with along their basic components.

Willy (LTLDad) suggested the addition of dead trees and I couldn't agree more. Rather than going scouring the internet or my local train store all I had to do was go no further than my front door.

Dead trees scrounged from my yard

based, flocked and dry-brushed.

Back to the net for some street lamps.

Based, flocked, painted and weathered. Excuse the bad focus on this pic.

In context.
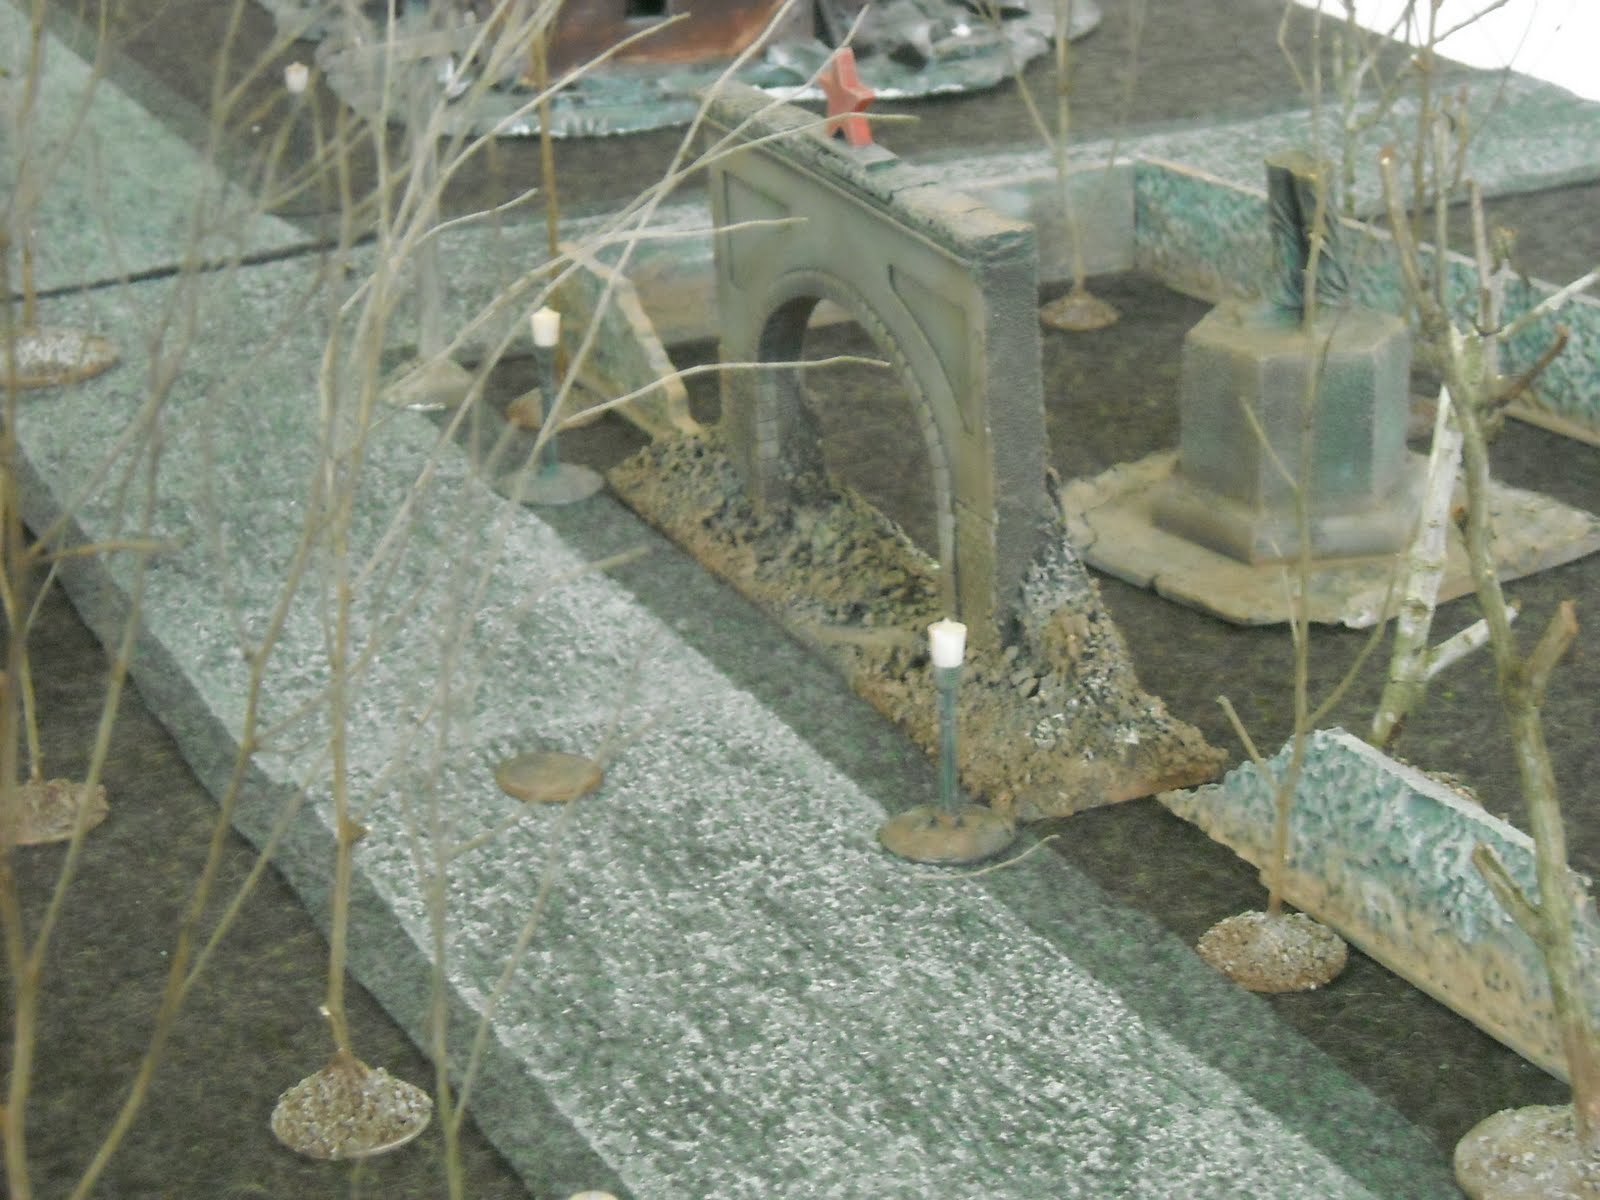
Here's my park and monuments.


All I'm missing now are vehicles.
Ooooh! We need to hash up a game on this nice table this weekend. I think I should be Russkies again, I'm in the mood for some brutal attacking action.
ReplyDelete